Your BindTuning theme must be installed and applied to the site before uploading the demo content.
BindTuning themes are packed with demo content files, which can be directly imported into your SharePoint website.
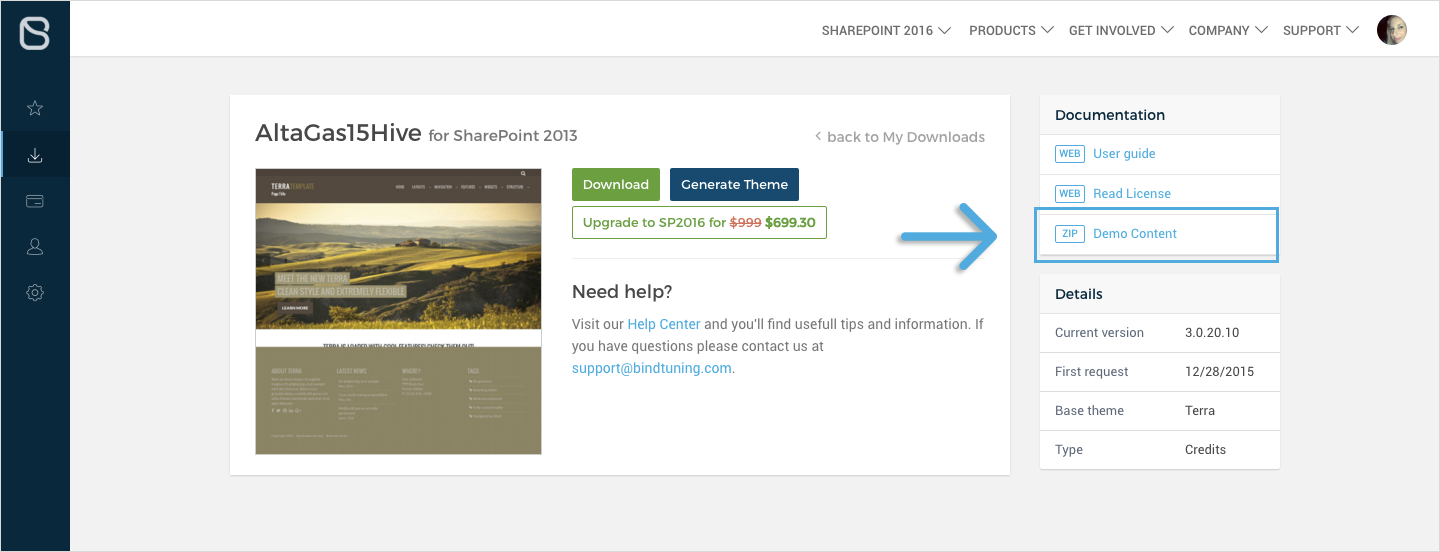
1# Download the .zip file
Access your account at bindtuning.com and on the My Downloads tab, select the theme.
Under documentation you will find the .zip file.
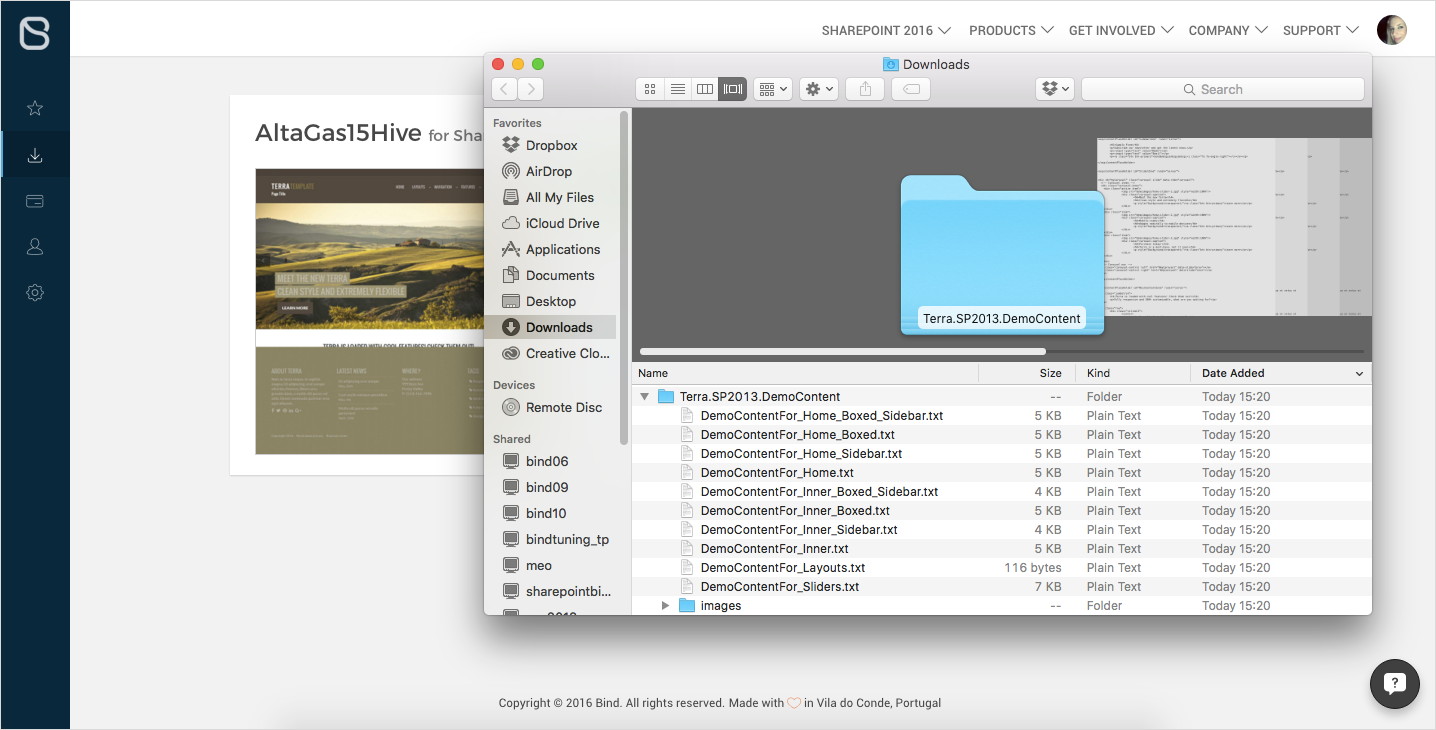
2# Unzip the file
Beforing uploading the demo content into your website you will need to unzip the file. The file name is themedefaultname.SP2013.DemoContent.zip.
3# Add the demo content
ADD THE DEMO CONTENT TO THE MAINCONTENTZONE
Here is what you need to do to import the demo content into teh Main Content Zone:
- Log into your website as admin;
- Click Edit;
-
On the Format Text tab, click on Edit Source;

-
Copy the HTML code between the tag
<asp:ContentPlaceHolder id="MainContentZone" runat="server">, from the demo content file; - Paste the code;
- Click Save.
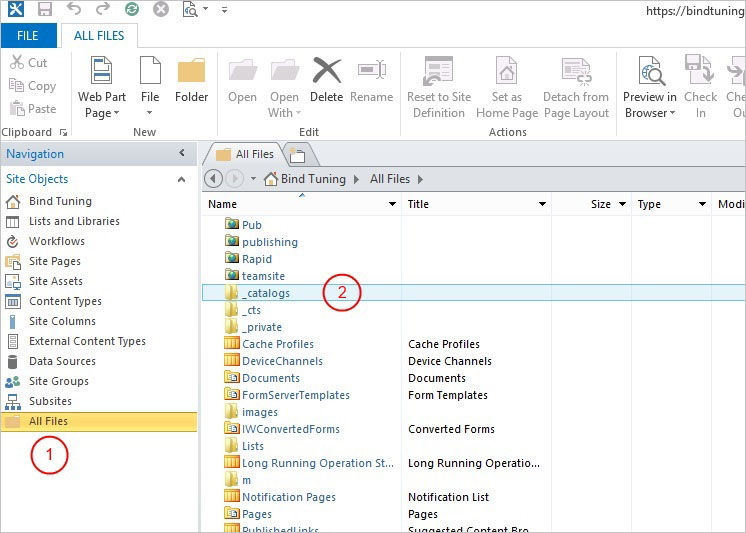
ADD THE DEMO CONTENT TO OTHER ZONES
You can also place the demo content in other content zones.
- Open your website with the SharePoint Designer and open the All files folder;
-
Open the folder _catalogs;
-
Click on masterpage;
- Search by your BindTuning theme and open it;
- Right click on the layout that is applied to your site and click Check out;
-
Right click again on the layout and click Edit file in advanced mode;

-
Copy the code from the demo content file and replace corresponding zones in the layout;
- Click Save.
Demo content added! ✅